Affiliate Disclosure: IronThaw may earn a commission when future partner links are added. This guide is informational and does not include paid product placement, fake rankings, or placeholder product buttons.
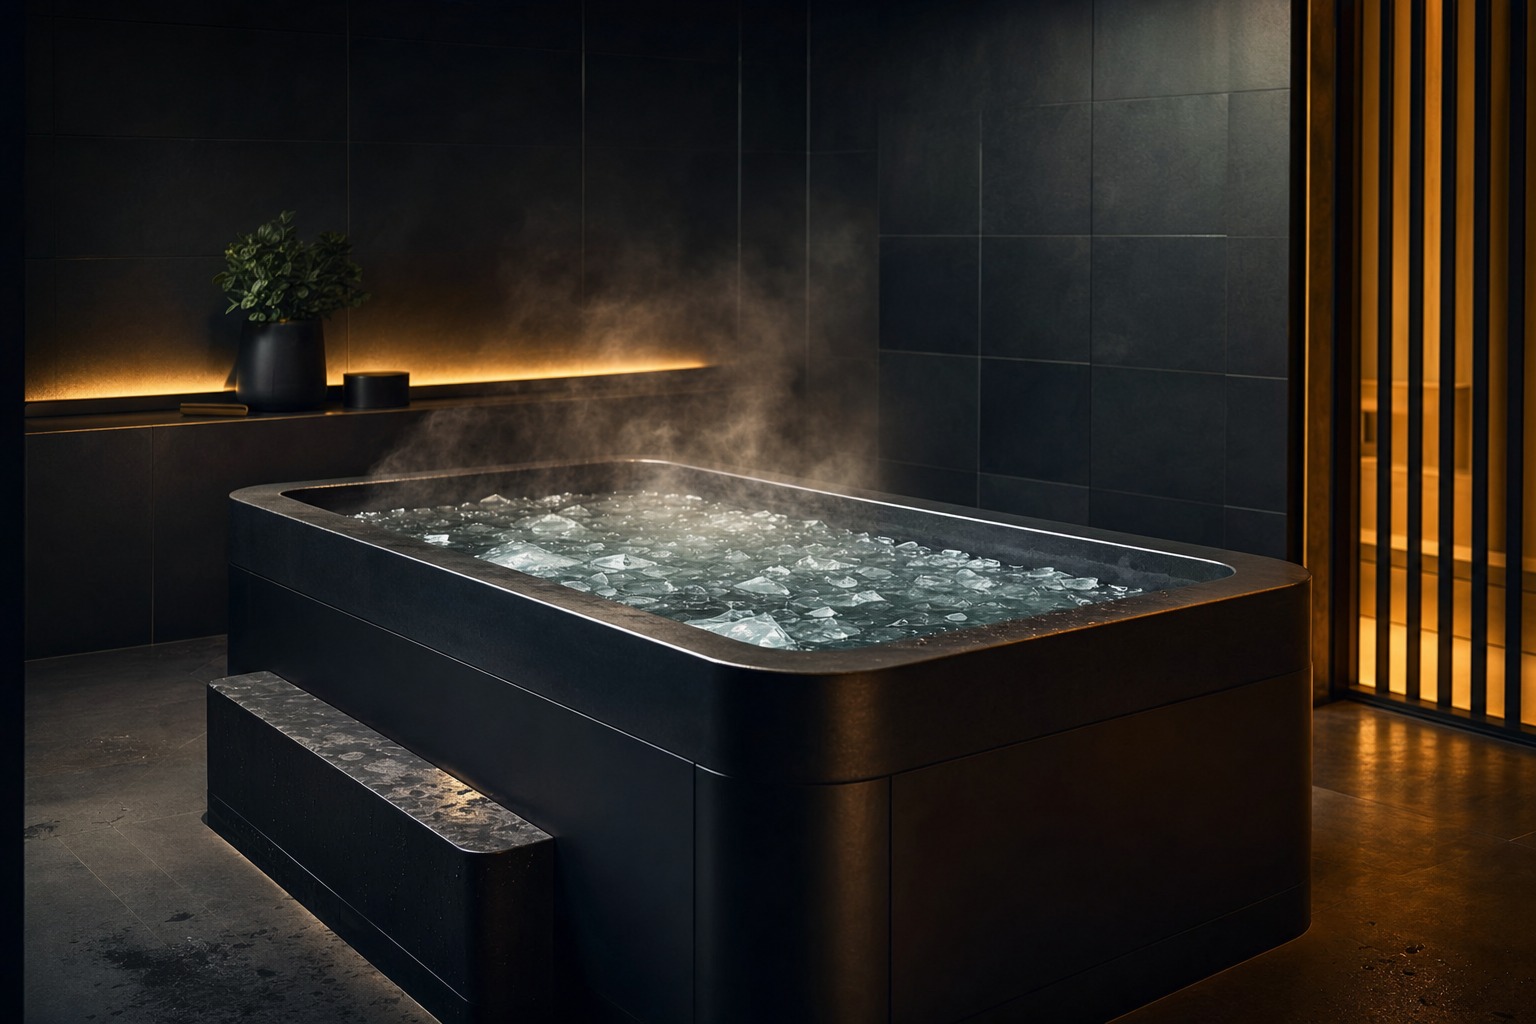
Short answer: You can start a cold plunge at home without a chiller by using a bathtub, stock tank, insulated pod, or clean portable tub, then adding measured ice until the water reaches a beginner-friendly temperature. The smart goal is not to make it painfully cold. It is to test whether you can build a safe, repeatable cold exposure habit before spending on a powered chiller.
A chiller makes cold plunging easier, but it is not required on day one. In fact, a no-chiller setup can be the better first step for beginners because it reveals the real questions: Do you like cold exposure enough to repeat it? Do you have a good place to drain water? Can you manage cleaning? Will the routine fit your schedule after the novelty wears off?
This guide covers practical home setup, ice expectations, temperature targets, and basic safety. It is not medical advice. Cold water can be stressful, especially for people with cardiovascular conditions, blood pressure issues, fainting risk, cold urticaria, pregnancy concerns, nerve issues, or medication-related temperature sensitivity. If any of that applies, ask a qualified professional before starting.
Best no-chiller setup options
The simplest setup is often the best. Start with the container you already have access to, then upgrade only if the routine survives a few weeks.
| Setup | Best for | Main trade-off |
|---|---|---|
| Bathtub + ice | First experiments, renters, zero extra gear | Uses household bathroom space and drains after each session |
| Portable plunge pod | Small patios, garages, low budgets | Needs cleaning, cover, and stable floor placement |
| Stock tank | Durable backyard setups | Heavy when full and more exposed to outdoor debris |
| Insulated cooler-style tub | Holding cold longer without electricity | Higher upfront cost than a basic tub |
Start with temperature, not ego
The biggest beginner mistake is assuming colder is automatically better. If your first session is miserable, you are less likely to repeat it and more likely to ignore useful body signals. For most beginners, the first goal is controlled breathing and a calm exit, not a record-breaking temperature.
Use a floating or kitchen-safe thermometer and measure before entering. A practical starting range is 55–65°F. If that still feels overwhelming, start warmer. If you already tolerate cold showers or winter swimming, you may progress faster, but you still do not need to rush. For a deeper progression chart, see the IronThaw cold plunge temperature chart.
How much ice should you use?
Ice math changes with water volume, room temperature, tap water temperature, sun exposure, and insulation. That is why the best answer is to measure instead of guessing. Add ice, stir the water carefully, wait a few minutes, then check the temperature before getting in.
- Small bathtub test: Try 20–40 pounds of ice and measure the result.
- Warm climate or outdoor tub: Expect to need more ice, especially in direct sun.
- Insulated tub: Ice may last longer, so smaller top-offs can work after the initial chill.
- Repeat sessions: Track ice cost per week so you know when a chiller starts to make financial sense.
If you buy ice bags every session, the routine can get expensive fast. That does not mean you need a chiller immediately. It means the no-chiller phase should be treated as a test period. If you plunge three or four times a week for a month and still love it, then compare ongoing ice cost with dedicated cold plunge options in the cold plunge vs ice bath guide.
A beginner routine for the first two weeks
Keep the first phase boring. Cold exposure is already enough stress. You do not need long sessions, breath holds, intense workouts, and sauna contrast all in the same experiment.
- Week 1: 1–2 sessions, 30–90 seconds, 55–65°F if tolerated.
- Week 2: 2–3 sessions, 1–2 minutes, same temperature or slightly cooler only if week 1 felt manageable.
- Exit rule: Get out before you feel numb, dizzy, confused, or unable to control your breathing.
- Warm-up: Dry off, put on warm layers, and let your body rewarm gradually. Avoid driving or showering extremely hot while lightheaded.
If you want to pair cold with heat later, read cold plunge before or after sauna before stacking everything together. Contrast therapy can feel great for many beginners, but it also adds more heat and cold stress in one window.
Water care without overcomplicating it
No-chiller setups still need water care. A bathtub that drains after each session is simple. A portable tub that holds water for days needs more attention because sweat, skin oils, outdoor debris, and warm temperatures can create a hygiene problem.
- Rinse or shower before using a shared or multi-day tub.
- Use a fitted cover when the tub is not in use.
- Skim debris and keep the area around the tub clean.
- Drain and scrub regularly if you do not have filtration or sanitation.
- Follow the manufacturer’s water-care instructions for any portable plunge product.
Do not treat a backyard tub like a magic wellness object that cleans itself. If water looks cloudy, smells off, or has visible debris you cannot remove, drain and clean it. A future IronThaw water-care guide will go deeper on filters, covers, and sanitation options for beginners.
When a chiller becomes worth it
A chiller is a convenience purchase before it is a performance purchase. It may be worth considering when you already plunge consistently, want predictable temperatures, dislike ice runs, or live somewhere that makes ice-only sessions frustrating. It may not be worth it if you are still inconsistent, short on space, or mainly chasing the idea of a recovery setup.
Before upgrading, calculate your real friction: ice cost, time spent buying ice, water changes, cleaning, storage, and whether your setup is comfortable enough to use. If the no-chiller routine is working and the biggest barrier is ice logistics, a chiller may make sense. If the barrier is motivation, a more expensive tub probably will not solve it.
